
Shop the edit
View collection


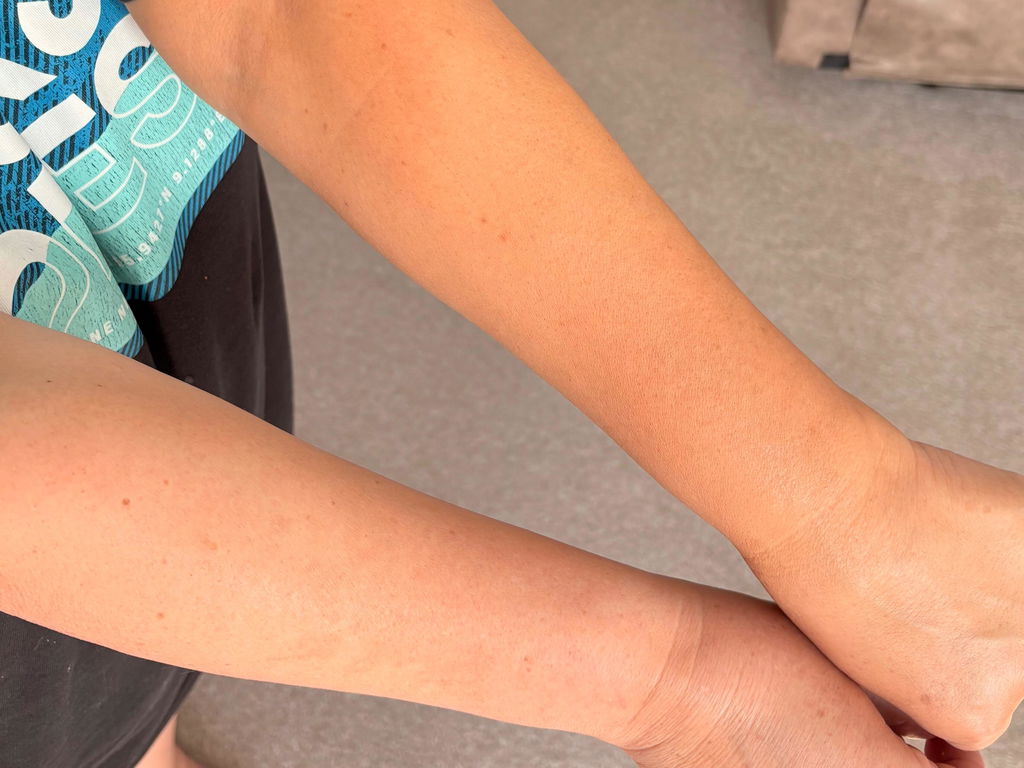
If a patchy, streaky tan has ever taken you by surprise, you’re in good company. Self-tan is wonderfully transformative, but just like skincare and makeup, it rewards a gentle hand, good prep and a calm approach when things go off-script. Consider this your streaky tan SOS: a skin-first, expert routine to correct uneven colour today, blend beautifully tomorrow and future-proof your next application.
First, breathe: what causes streaks and patches?
Streaks aren’t a sign you’re “bad” at tanning. They’re simply your skin telling you one (or more) of the following happened:
- Uneven surface texture – dry patches, flaky skin or recent shaving can cause tan to catch and develop darker.
- Too little or too much product in places – light-handed in some areas, heavy in others, or the guide colour wasn’t blended thoroughly.
- Rushed prep – residual body lotion, SPF or perfume can repel tan in patches.
- Water, sweat or tight clothing too soon – early contact can lift colour and create tide marks.
- Product drying speed vs. your blending speed – fast-drying textures can set before you’ve finished smoothing if the room is warm or your skin is very dry.
None of the above is irreversible. With the right removal, rehydration and targeted blending, you can look polished again—often the same day.
Your same-day streak rescue, step by step
1) Soften the colour where it’s darkest
When you spot a darker patch or tell-tale streak, resist aggressive scrubbing. Physical over-exfoliation can lift surrounding colour unevenly and leave your skin stressed. Instead, start with a short, warm (not hot) shower to gently soften the top layer of colour. Pat skin dry—don’t rub.
If you need targeted help loosening built-up or stubborn self-tan, a dedicated removal formula saves time and skin. Apply a thin, even layer of THE REMOVER to clean, dry skin and allow it to sit as directed before rinsing. The aim is control: lighten the darkest bits without stripping the freshest areas.
2) Buff with a light, even touch
Once the colour has softened, lightly sweep over the area with a gentle exfoliating tool. Use long strokes in one direction rather than hard circular scrubbing, which can create new edges. A dual-texture mitt helps you tailor the pressure: start with the softer side and only step up where needed.
We love the control you get from the DUAL SIDED EXFOLIATING MITT. Work from the centre of the patch outward, easing the darkest zone into the surrounding colour. Rinse and reassess in natural light.
3) Rehydrate the canvas
Post-removal, your skin deserves comfort. Apply a light, fast-absorbing body lotion to rebalance dryness without leaving a heavy film. Focus on elbows, knees, ankles and any zones you’ve just corrected. A smooth, hydrated canvas is more forgiving if you need to re-tan locally.
4) Re-tan just where you need it
Sometimes you’ll end up with an area that’s too light after removal—and that’s fine. To top up seamlessly:
- Choose a small amount of your usual tinted tan and apply with a clean mitt.
- Feather the product from the lighter area into the existing colour, keeping pressure soft and movement brisk.
- If you’re worried about intensity, mix a touch of your body lotion with the tan for a sheer finish and build slowly.
Allow to dry fully. If using a guide-colour tan, check in bright, indirect natural light to ensure the blend line is invisible before dressing.
5) Need to look flawless now? Camouflage with body makeup
When time is tight, high-performance body makeup is your confidence coat. It evens tone, blurs texture and softens contrast between slightly uneven areas. For a natural-looking, skin-finish sheen and soft-focus effect, smooth a small amount of ORIGINAL BODY BLUR, MEDIUM over legs, arms or décolletage, then buff with a body brush or clean tanning mitt. It rinses off with your evening shower, so you can return to gradual correction later.
If you’ve streaked on day one vs. day three
Timing changes your approach. Here’s how to adjust for the most natural result.
Day one (fresh colour)
- Think: soften, not strip. A short, warm shower plus a light pass with an exfoliating mitt on the darkest areas is often enough.
- Local re-tan with a whisper-light touch. Feather product into the pale patch only; avoid re-tanning the whole limb unless needed.
- Camouflage if you’re heading out. Body makeup can level everything while your tan settles.
Day three to five (tan is wearing in)
- Address general fade. Use your exfoliating mitt lightly across the whole area to remove loose, dry cells, not just the streaks.
- Hydrate generously. Daily moisturising minimises patchy fade and makes your re-tan glide on evenly.
- Top-up tan. Apply a thin coat of your usual tan to the full area for consistency; then add a dab more where needed.
How to blend edges you can actually see
Sharp “tide lines” are simply visible borders between lighter and deeper development. To dissolve them:
- Spot-soak the deeper edge in the shower; press a warm, damp flannel against it for 60 seconds.
- Feather-buff the line outward with your exfoliating mitt. Keep pressure light and strokes long.
- Micro-top-up the lighter side only, blending a dab of tan or body lotion-tan mix into the transition zone.
- Stand back in natural light, arms length from the mirror. The “artist’s view” helps you blend what others see, not what you’re fixating on up-close.
The skincare-led way to prevent streaks next time
Great tan begins days before application. Small adjustments to prep and environment pay off with soft, even colour.
48 hours before
- Even the canvas. Exfoliate lightly, focusing on elbows, knees, ankles and any self-tan “catch” areas. The aim is smooth, not scrubbed.
- Nourish dryness. Use a basic, fragrance-free moisturiser at night. Hydrated skin soaks up tan more evenly.
24 hours before
- Hair removal window. If you shave or wax, do it now. This minimises product sitting in open follicles and reduces irritation.
- Hands and feet TLC. Massage a touch of lotion into cuticles, knuckles and heels, then blot away any excess before tanning tomorrow.
On tanning day
- Clean, product-free skin is key. Skip heavy body creams, oils and antiperspirants before you apply.
- Room matters. A cool, dry space gives you more blending time. Heat and humidity speed up drying and can set edges too quickly.
- Work in sections. Legs; torso; arms; then hands and feet last. Blend continuously across joints to avoid lines.
- Use the right tool. A quality tanning mitt ensures even pressure and a fine, diffused finish.
- Pressure and pace. Firm-but-light, long strokes to distribute; then swift circular motions to blur edges.
After tanning
- Hands, wrists, ankles. Buff with a barely-damp cloth or clean mitt edge to lift excess before it sets.
- Dress smart. Choose loose, dark clothing while your colour develops.
- Water waits. Avoid sweating, rain or washing up until your developer period has passed.
Tricky areas decoded
Hands and wrists
Treat hands like a separate step. After finishing arms, use leftover product on your mitt to sweep over the back of each hand, fingers extended and slightly clawed to catch knuckles. Bend wrists and feather a clean, dry mitt edge over creases to remove excess. If you wear a watch, remove it for a soft, unbroken blend.
Feet and ankles
Use minimal product and maximum blending. Flex toes to catch the knuckle curves; sweep across the sides of the feet for a natural “sun shadow”. Finish by lifting excess from heels and the tops of toes with a dry mitt edge.
Elbows and knees
Exfoliate gently beforehand, then apply a pea-size amount of body lotion to each joint and blot. This creates a subtle “barrier glow” that prevents overdevelopment, while still letting a whisper of colour through as you pass over.
Necklines and collars
Blend up the neck with the residual product from your chest and shoulders—rarely do you need extra. Check behind ears and along the hairline in daylight and soften any build-up immediately with a damp cotton pad.
Texture, tone and your tan
Drier, thinner or more textured skin can take colour differently. If you’re managing keratosis pilaris, post-shave sensitivity or simply seasonal dryness, think skincare first:
- Gentle, regular exfoliation supports a smoother canvas with less friction.
- Lightweight hydration daily maintains suppleness without leaving a barrier film.
- Strategic sheerness – mix a little tan with body lotion on texture-prone areas, then layer later if you need more depth.
If you need a low-stress glow for an event
When you want to look polished on a deadline, planning layers gives you options:
- Three days out: Light exfoliation and generous moisturising at night.
- Two days out: Apply a sheer coat of tan. Keep it soft; this is your “base warmth”.
- One day out: Assess in good daylight. Top up only where you want extra depth.
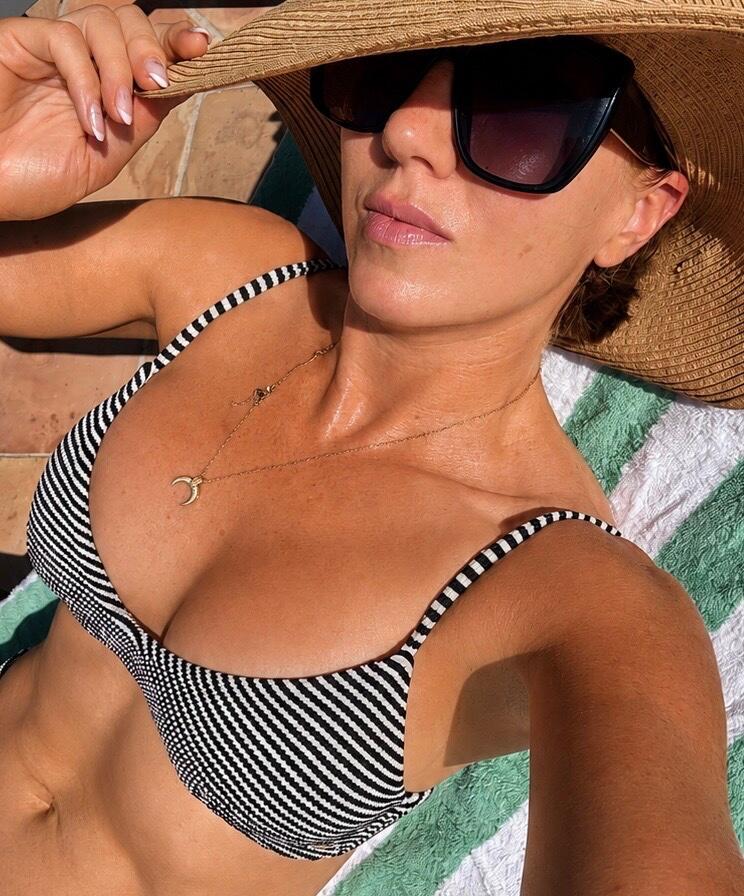
- Event day: Perfect with body makeup. ORIGINAL BODY BLUR, MEDIUM adds a refined, soft-focus radiance that photographs beautifully, blurring the look of pores and small imperfections. Buff well over shins, thighs and arms for an even, camera-kind finish.
Application tools that make a visible difference
Tools aren’t extras; they’re your shortcut to a professional-looking blend:
- Tanning mitt for even distribution, stain-free palms and a fine finish. Keep a second clean mitt for buffing edges post-application.
- Exfoliating mitt for controlled smoothing before you tan, and precise correction if streaks appear later.
- Body brush for polishing body makeup into a natural, skin-like finish and diffusing any remaining demarcation.
Wash mitts in mild soap, rinse thoroughly and air dry. Retire them when the texture loosens or the surface pills—fresh tools equal fresh results.
How to maintain an even fade
Even the silkiest tan will eventually fade—but it can fade beautifully with these habits:
- Shower smart. Lukewarm water preserves suppleness; very hot water can accelerate dryness and patchiness.
- Pat dry. Press your towel to the skin rather than vigorous rubbing, which can lift colour irregularly.
- Moisturise daily. Prioritise elbows, knees and ankles. Keep textures light in the daytime to avoid residue.
- Top up strategically. A thin layer every few days maintains harmony. Build gradually rather than “starting again” with a heavy coat.
When to remove and reset
There’s a moment when little touch-ups become more effort than reward. If your colour is visibly uneven across multiple areas or clings to the usual suspects (elbows, knees, ankles) despite gentle buffing, it’s time for a reset. Use THE REMOVER to loosen residual tan, follow with a light sweep of the DUAL SIDED EXFOLIATING MITT, then pause for a day of hydration before your next application. You’ll be rewarded with a silkier, more even result that lasts.
For sensitive skin or new tanners
If your skin is reactive or you’re just beginning your self-tan journey:
- Patch test new formulas on the inner arm 24 hours ahead.
- Try sheer layers first. It’s easier to add warmth than to dial back intensity.
- Keep exfoliation gentle. Think softening, not scouring.
- Lean on body makeup for events while you refine your tan routine; it removes completely at day’s end.
Lighting, mirrors and the art of perspective
Streaks can look worse in some lighting than others. Always assess and blend in bright, indirect natural light, and step back—literally. What concerns you at 10cm from the mirror often disappears at a normal social distance. This mindset, paired with steady technique, makes for calmer, better outcomes.
A realistic timeline for rescue
- Within the hour: Soften, buff lightly, apply body makeup. You’ll look polished and party-ready.
- Within 24 hours: Gentle rehydration and a local top-up blend edges beautifully.
- Within 72 hours: A partial re-tan after controlled exfoliation restores overall harmony.
Mind the micro-moments
Small moves often prevent big streaks:
- Wring out washcloths well if you freshen up while developing—drips cause streaks.
- Hands off while your tan sets. Crossing legs, leaning on counters or resting your chin in your hand can imprint marks.
- Travel trick: pop a spare clean mitt in your bag. If rain catches you during development, you can blot rather than rub.
Putting it all together
Streaks are solvable. Arm yourself with a calm plan—soften, lightly lift, rehydrate, then re-blend—and a couple of hardworking essentials that protect your skin while you perfect your colour. With thoughtful prep and gentle maintenance, your tan will look consistently natural, even and luminous—just like your best skin on its best day.